
One of the most common roof leaks homeowners experience is a failing roof boot (I like to call them pipe boots). Even though it’s not necessarily a hard repair, it can cost between $250 and $550.
I fully understand this is expensive, and many homeowners don’t have this lying around to spend on their roof. This is why DIY roofing projects are becoming increasingly popular.
In all honesty, I always recommend hiring a pro to replace a pipe boot. However, it’s possible to do it correctly on your own with the right guidance.
For over 30 years, the team at Bill Ragan Roofing has educated homeowners on all aspects of their roofing. But what’s the point of having 30-plus years of experience if we’re also not willing to show the “how” behind the “why”?
That’s why I made this video and article on the 10 steps to replace a leaky pipe boot.
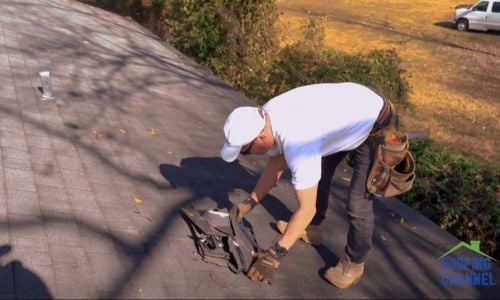
Step 1: Set up and get on the roof with the materials
The first thing you need to do is simply get on your roof. You’ll need to set up your ladder at the access point, grab the materials, and carefully make your way over to the pipe where you’re replacing the boot.
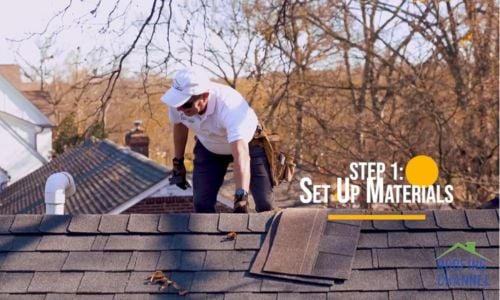
If the roof has a steep pitch, you may need to be tied off or have other safety precautions set up.
Step 2: Remove shingles around the pipe boot
Once you’re set up at the pipe, you’ll start carefully removing the shingles around the pipe. You have to take every nail out while also being careful not to damage the shingles that aren’t affected.
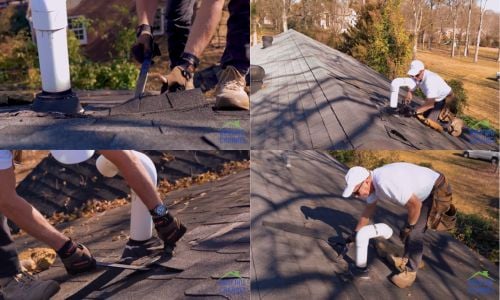
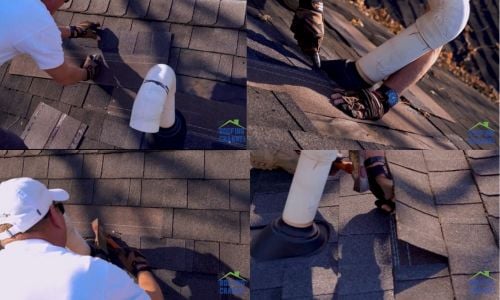
If the previous installer used tar and/or screws, this will be more difficult than nails. This is the case in the video above because the HVAC company used tar and screws to fasten the old pipe boot.
Helpful tip: you can tell it's an HVAC pipe because it has an elbow on top.
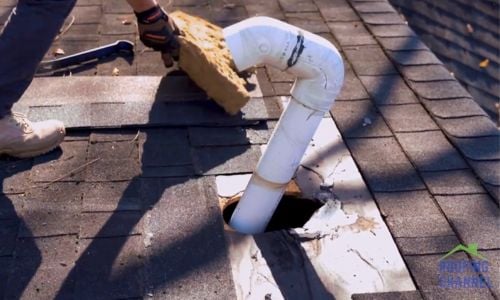
Step 3: Remove the old pipe boot
Next, you’ll remove the old pipe boot by sliding it over the top of the pipe. It’s crucial to do this with enough force to slide it off but not forcefully enough to dislodge the pipe if it isn't connected correctly.
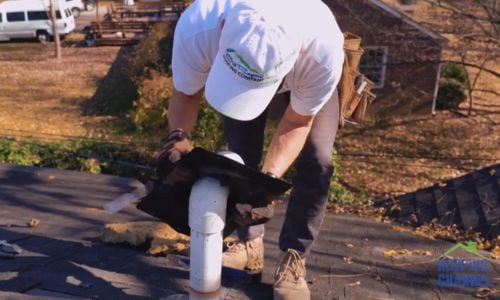
You also don’t want to damage the wooden decking surrounding the pipe. A pipe boot around a standard vent pipe won’t be as hard to remove as the video tutorial because it won’t have the elbow.
Step 4: Remove old nails and debris
Once the pipe boot is removed, you’ll need to clear the area. First, double-check that all existing nails and screws from the old pipe boot are removed.
After that, ensure the area is good and cleaned up to avoid debris falling into the roof's opening.
Step 5: Fit and nail bottom shingles
Once the area is clear, it’s time to install the first shingle below the boot. It’s a good idea to do an initial measurement to mark where the shingle slides up against the bottom of the pipe boot.
After marking the shingle, you’ll trim it to fit the new pipe boot once it’s installed. Once the shingle is cut, you’ll nail it properly to fasten it to the decking.
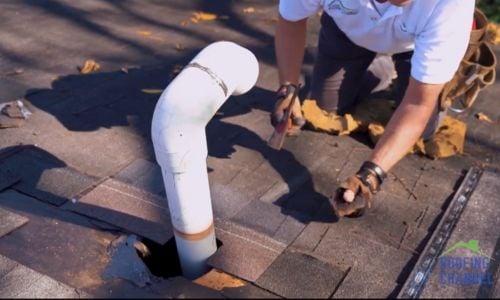
Step 6: Install new pipe boot
With the bottom shingle in place, it’s time to install the new pipe boot. You’ll cut the gasket on the boot to fit the pipe itself and then slide it over the top until it’s flush with the decking.

Make sure to be extra careful if there's a little bit of room around the pipe when sliding it on. Just like taking it off, the pipe boot in the video above is a little more difficult because of the elbow.
Step 7: Fasten the pipe boot
Once the boot is installed over the pipe, you’ll fasten it. While it’s not the only way to do it, I always fasten it so the nails don't show at the bottom of the boot.
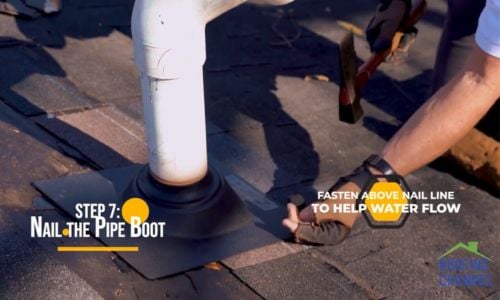
You’ll fasten it at the bottom of the boot above the nail line of the first shingle you cut below the pipe. After that, you’ll nail the top to fully install the new pipe boot.
Step 8: Fit and nail top shingle
With the new pipe boot installed, it’s time to cover it up. Just like you did with the bottom shingle, you’ll cut the top shingle to fit the top of where the pipe boot comes through.
Like before, I recommend measuring and putting reference lines on the shingle before cutting. I also nail the top shingle like you would if you were installing a new roof using the same nail lines.
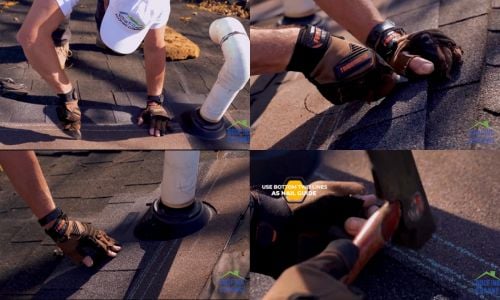
Step 9: Fit and nail cover shingle
With the top shingle installed, it’s time to install another shingle over this one to seal the exposed area completely. You’ll trim it like the others to go in against the pipe boot while covering the first top shingle.
Once it’s in place, use the nail lines to fasten down the shingle. I always use the bottom double lines to maximize the holding ability.
Step 10: Clean up the work site
Now, your new pipe boot is freshly installed. With the project complete, all that’s left is to clean up the area.
You want to make sure you get all nails (new and old), pieces of debris, and anything else on the roof.
Bundle it all up, carry it over to the truck, and you’re now completely done with your pipe boot repair. Just know, having a trash bag to make this part easier is a good idea.
Should you try to replace your pipe boot yourself or hire a professional?
There you have it; you now know how to replace an old pipe boot. With the video and these written steps, I have no doubt you can do it all on your own.
But that doesn’t mean it’s a good idea. There’s a lot of risk involved with doing DIY work, especially when it comes to roofing.
So, before diving into replacing your old pipe boot, you need to consider a few things. That’s why I wrote another article about the things to know before doing a DIY roof repair.
Check out DIY Roof Repair: Should I Hire a Roofer Instead of Doing It Myself to learn if it’s better to try yourself or leave it to the professionals.
